Gel polish has revolutionised the world of manicures. Its long-lasting, chip-resistant formula keeps your nails looking flawless for weeks. However, when it’s time to remove it, many of us dread the process, often worried about damaging our natural nails. Fear not! With the right tools and techniques, you can safely remove gel polish at home without a hitch. In this step-by-step guide, we’ll walk you through the process, ensuring your nails stay healthy and beautiful.
Why Proper Removal Matters
Before diving into the steps, it’s essential to understand why proper removal is crucial. Gel polish is designed to be durable, which means peeling or chipping it off can cause significant damage to your natural nails. This can lead to weakened, brittle nails that are prone to breakage. By following a gentle removal process, you protect your nail health and maintain their strength.
What You’ll Need
To remove gel polish at home, you’ll need a few essential tools:
- Nail File: A coarse nail file to gently buff the top layer of the gel.
- Acetone: Pure acetone is necessary for breaking down the gel polish.
- Cotton Balls or Pads: These will be soaked in acetone and placed on your nails.
- Aluminum Foil: Cut into small squares to wrap around your acetone-soaked cotton and nails
- Cuticle Oil: To nourish and hydrate your nails and cuticles post-removal.
- Nail Buffer: To smooth out your nails after the gel is removed.
- Orange Stick or Cuticle Pusher: For gently pushing off the gel polish.
Step-by-Step Removal Process
Step 1: Prep Your Nails
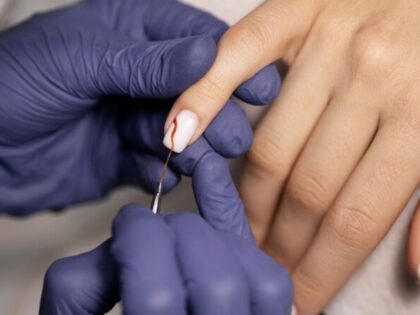
Start by gently buffing the top layer of your gel polish using the coarse nail file. This helps break the seal of the gel and allows the acetone to penetrate more effectively. Be gentle during this process to avoid damaging your natural nails.
Step 2: Soak the Cotton
Soak cotton balls or pads in pure acetone. Ensure they are thoroughly soaked but not dripping. Acetone can be quite drying, so it’s essential to minimize contact with your skin.
Step 3: Wrap Your Nails
Place a soaked cotton ball or pad on each nail, then wrap it with a small piece of aluminium foil. The foil keeps the cotton in place and creates a warm environment, helping the acetone break down the gel polish more efficiently. Repeat this step for each of your nails.
Step 4: Wait
Let the acetone do its job for about 10-15 minutes. During this time, you can relax and catch up on your favourite show or book. Avoid using your hands to prevent the foil wraps from slipping off.
Step 5: Check and Remove
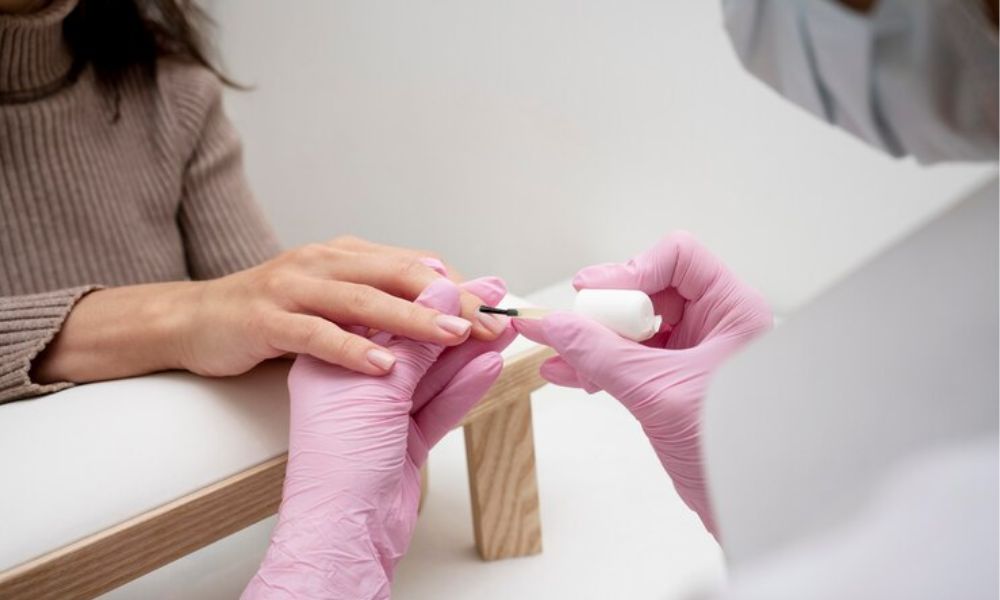
After 10-15 minutes, check one nail to see if the gel polish has lifted. If it has, gently use an orange stick or cuticle pusher to remove the softened gel. If the gel resists, rewrap the nail and wait an additional 5 minutes. Patience is key to avoiding damage.
Step 6: Buff and Shape
Once all the gel polish is removed, use a nail buffer to smooth out your nails. This step helps eliminate any remaining residue and restores the natural shine of your nails. If necessary, shape your nails with
a nail file to maintain your desired look.
Step 7: Hydrate and Nourish
Acetone can be very drying, so it’s crucial to rehydrate your nails and cuticles. Apply a generous amount of cuticle oil and massage it into your nails and surrounding skin. This step helps replenish moisture and keeps your nails healthy.
Tips for Healthy Nails Post-Removal
- Give Your Nails a Break: After removing gel polish, consider giving your nails a break from any polish for a few days. This allows them to recover and breathe.
- Moisturize Regularly: Keep your nails and cuticles hydrated by applying cuticle oil daily. This helps prevent dryness and brittleness.
- Use Strengthening Treatments: If your nails feel weak, use a nail strengthener to help them regain their strength and resilience.
Common Mistakes to Avoid
- Peeling Off Gel Polish: Peeling or picking at gel polish can cause severe damage to your natural nails. Always use the proper removal method.
- Skipping the Buffing Step: Buffing the top layer of the gel polish is crucial for effective removal. Skipping this step can make the process longer and more challenging.
- Not Hydrating Enough: Acetone is drying, so always follow up with cuticle oil and hand cream to keep your nails and skin hydrated.
Grace and Glamour
Grace and Glamour Salon is your ultimate destination for beauty and relaxation. Our skilled professionals offer top-notch services, including hair styling, manicures, pedicures, and rejuvenating facials. Using premium products, we ensure you leave feeling pampered and radiant. Whether it’s a routine touch-up or a special occasion makeover, Grace and Glamour Salon is dedicated to bringing out your best, ensuring every visit is a delightful experience.
Conclusion
Removing gel polish at home doesn’t have to be a daunting task. With the right tools, techniques, and a bit of patience, you can safely and effectively remove gel polish, keeping your nails healthy and strong. Follow this step-by-step guide, avoid common mistakes, and give your nails the care they deserve. Happy nail care!
Don’t miss:- The Art of Negative Space Nails: Minimalist and Chic Designs