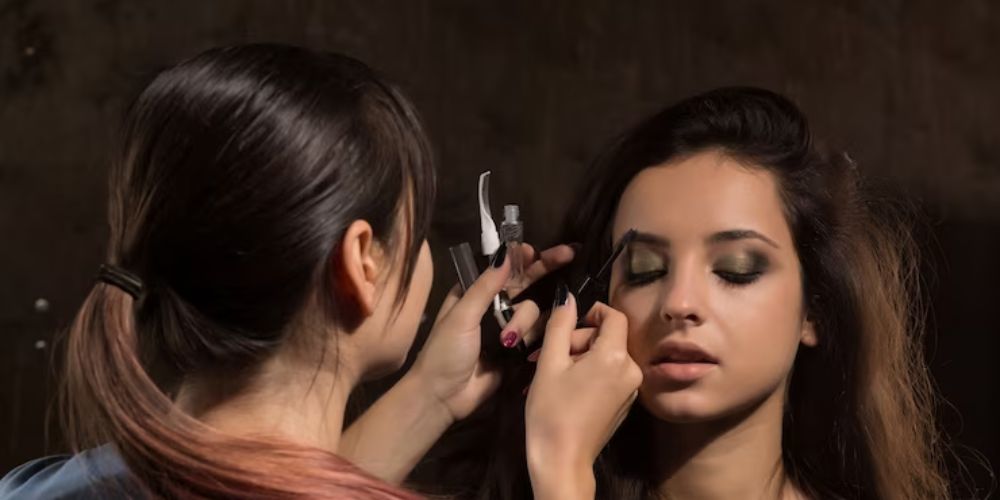
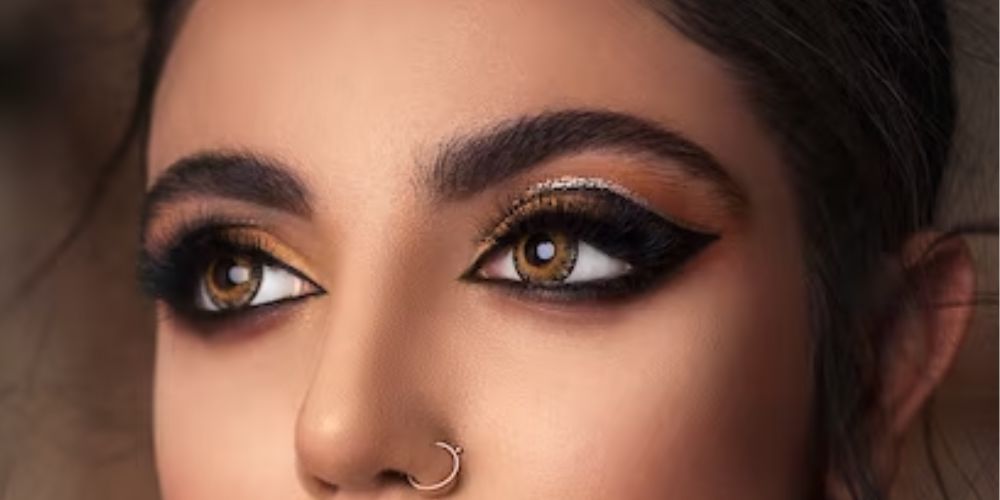
Hello, beauties! Welcome back to Grace and Glamour, your ultimate destination for all things beauty. Today, we’re going to dive into the timeless and alluring world of the smoky eye. The smoky eye look has been a staple in every makeup enthusiast’s repertoire for decades, and we’re here to help you master it with ease. Whether you’re heading out for a night on the town or simply want to add a touch of seductive mystery to your everyday makeup routine, this tutorial will guide you through each step to achieve the perfect smoky eye. So grab your brushes and let’s get started!
Step 1: Prime and Prep
The key to any flawless eye makeup look is starting with a clean canvas. Begin by applying a thin layer of eyeshadow primer to your lids. This step will help your eyeshadow adhere better, prevent creasing, and make the colors pop. Gently blend the primer with your fingertips or a synthetic brush.
Step 2: Lay the Foundation
To create a seamless transition of colors, start by applying a neutral-toned eyeshadow all over your eyelid. This will act as a base and provide a smooth canvas for the smoky effect. Opt for shades like taupe, light brown or soft beige. Blend the color using a fluffy blending brush for a soft, diffused look.
Step 3: Define the Crease
Now it’s time to add depth and dimension to your eyes. Take a slightly darker shade than the one used in step 2 and apply it to your crease using a small, tapered blending brush. Start from the outer corner of your eye and blend the color inward, following the natural shape of your eye socket. Use windshield wiper motions for a seamless blend.
Step 4: Intensify the Outer V
To amp up the drama, focus on the outer corner of your eye by creating the classic “V” shape. Using a darker shade, such as a deep brown or charcoal gray, apply the color to the outer corner and blend it inward, connecting it with the crease color. Take your time with blending to avoid any harsh lines.
Step 5: Smoke It Out
This step is where the magic happens. Choose a black or dark grey eye shadow and apply it to the outer corner of your eye, slightly overlapping the previously applied dark shade. Concentrate the color on the outer third of your eyelid and blend it inward using small circular motions. The key is to build up the intensity gradually, ensuring a smooth transition between shades.
Step 6: Highlight and Brighten
To add a touch of luminosity to your smoky eye, apply a shimmery or satin-finish eyeshadow to the inner corner of your eye and the brow bone. This will create a beautiful contrast against the deeper shades and make your eyes appear brighter and more awake. Gently blend the highlighter with a clean brush to soften any harsh edges.
Step 7: Define the Lower Lash Line
To complete the sultry look, don’t forget to define your lower lash line. Using a small pencil brush, apply the same dark shade used in the outer corner to the outer two-thirds of your lower lash line. Then, using a smudge brush or a cotton swab, gently blend the color for a smoky effect.
Step 8: Finish with Liner and Mascara
For added definition, apply black eyeliner along your upper lash line. You can create a subtle line for a softer look or go for a bold, winged liner to amp up the drama. Curl your lashes and apply a few coats of your favorite mascara to make them appear fuller and more voluminous.
Conclusion
Congratulations, you’ve mastered the art of the smoky eye! With these step-by-step instructions, you can create a captivating and glamorous look that is sure to turn heads. Remember, practice makes perfect, so don’t be discouraged if it takes a few attempts to achieve your desired result. The key is to have fun, experiment with different shades and techniques, and most importantly, embrace your inner beauty. Stay tuned for more beauty tips and tutorials here at Grace and Glamour. Until next time, stay fabulous!
Related :- Unleashing Confidence: How Makeup Enhances Your Job Interview Presence


